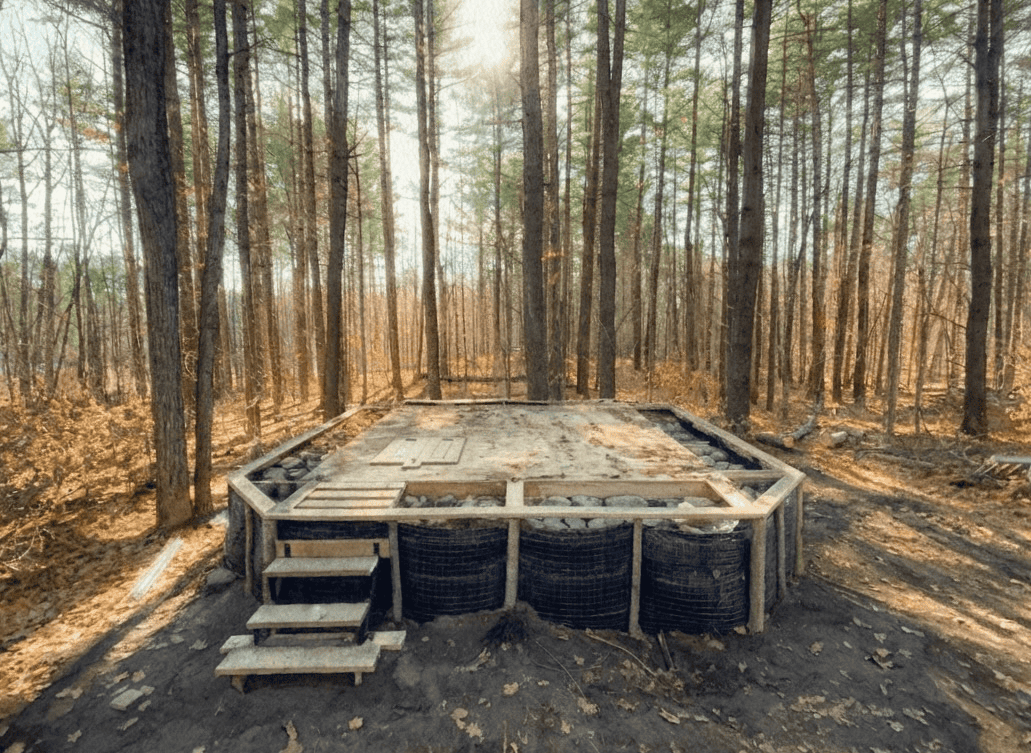
For the first few years after we bought the property, we were camping there. Sometimes that meant tents. Sometimes it meant winter shelters. Sometimes it meant a setup that was comfortable enough for a weekend, but not quite comfortable enough to make longer stays feel easy.
That worked for a while, but it made trips easy to cancel. If the weather looked bad, or the logistics felt annoying, or we knew the whole trip would be packing, unpacking, and trying to get comfortable before leaving again, it became very easy to skip a weekend.
We knew we eventually wanted a cabin or a house, but starting there felt too big. There were too many unknowns, too many decisions, and too much work to take on all at once. A camper or RV felt like the right middle step: something stable enough to make frequent visits easier, but temporary enough that we could keep learning the land before committing to the full build.
We thought that meant buying a camper, bringing it in, leveling it, and calling that progress.
It turns out even a camper needs somewhere for the water to go.
Why We Needed It
The thing we missed at first was greywater. Even if we were not connecting a toilet, two sinks and a shower still meant water leaving the camper. That water needed to be handled properly, which meant we needed some form of septic system before the camper could really become a useful base camp.
So I started reading.
For our purposes, the options were roughly:
- Class 1: a privy or outhouse-style setup
- Class 2: a greywater drainage pit
- Class 3: a cesspool
- Class 4: a full septic system with a tank and leaching bed
A Class 4 system would have handled everything, including black water, and it would have been closer to what we might eventually want for a more permanent build. It was also far more expensive and far more involved. For where we were at the time, that felt like jumping too far ahead.
A Class 2 system was narrower. It was for greywater, not everything. But it was also much cheaper, and more importantly, it was something we could reasonably build ourselves.
So we chose Class 2. We were not trying to solve the whole future cabin in one move. We were trying to make the next step possible.
Sizing
Once we started working through the requirements, the surprising part was the size.
This was a system for two sinks and a shower. In my head, that sounded small. In practice, once the soil type, fixture count, and all the other factors were accounted for, the required system came out to around 21,000 litres.
That number felt absurd the first time I saw it.
For comparison, our well is about 325 feet deep and 6 inches wide. That works out to roughly 1,800 litres of water sitting in the well casing. In other words, I would have to empty the well nearly 12 times to fill the septic system.
I understand why code requirements are conservative. Each layer is trying to protect against a different failure mode, and it is better for these systems to be oversized than undersized. But when all of those buffers stacked up against our actual use case, it was hard not to laugh a bit. The system was sized for a volume of water we could not realistically produce from the well under any circumstances.
We have a lot of sand where we were building, which is good from a drainage perspective. Water does not sit around for long. But the property is also on the Canadian Shield, and that changes everything once you start digging.
Building Around Rock
The plan itself was simple enough: build a pressure-treated wood box, seal it, surround it with soil, and let the greywater filter back through the ground.
The issue was getting enough depth.
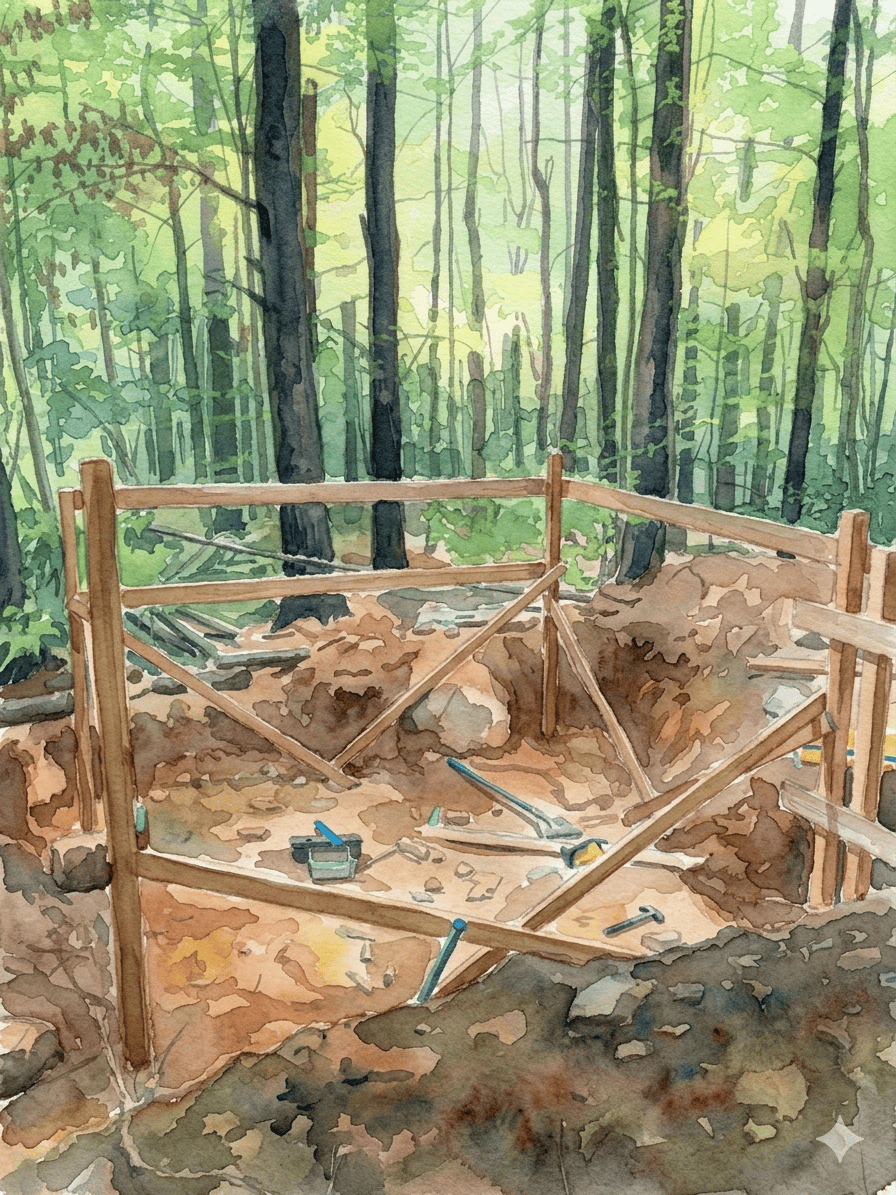
As we dug down, we kept hitting stone almost immediately. Not a few loose rocks that could be tossed aside, but bedrock and large pieces of shield that stopped any further digging. We could dig, scrape, chisel, and pry, but there was only so much depth available without bringing in much heavier equipment.
That meant the design had to adapt. We dug down as far as we reasonably could, chipped out the rocks that were movable, and then started building upward to get the volume we needed.
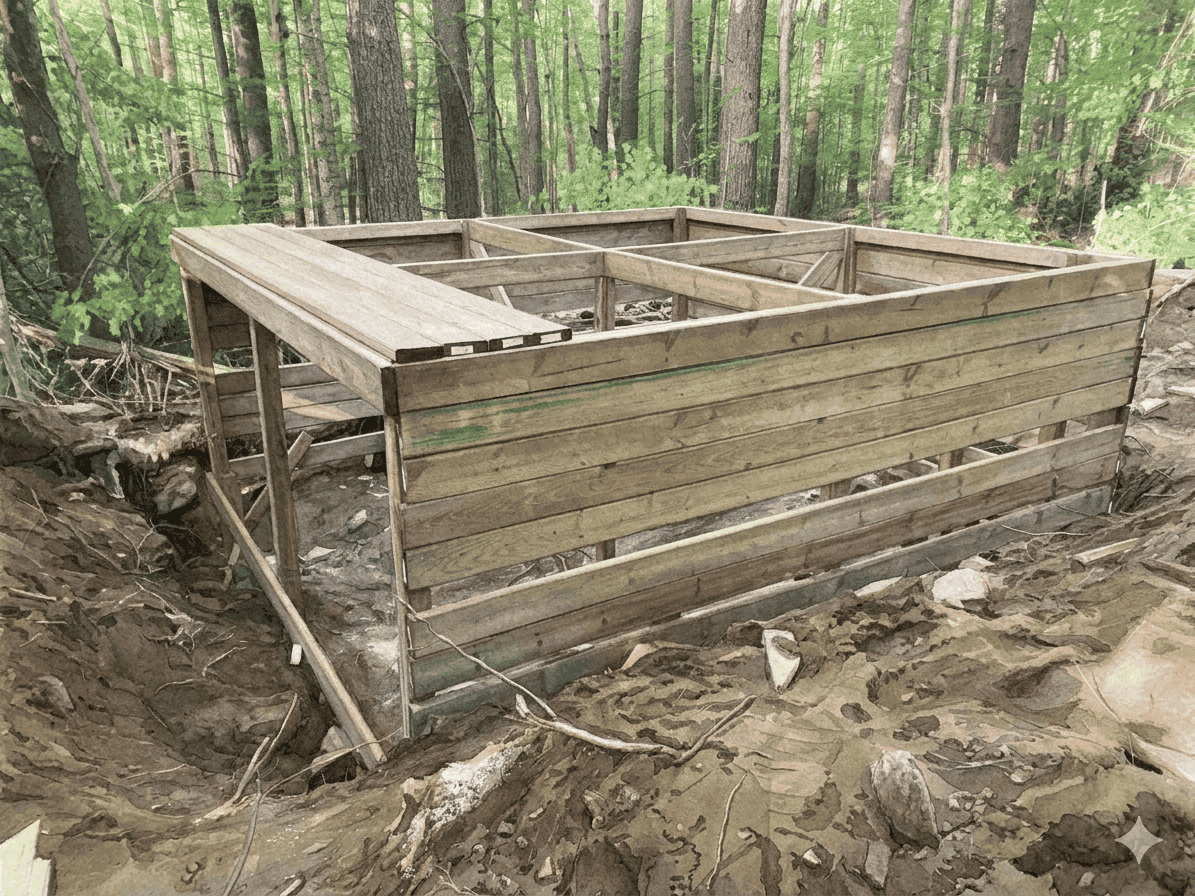
This was one of those projects where the work did not look especially complicated, but every step took longer than expected. Measure, dig, hit rock. Adjust. Dig somewhere else. Hit more rock. Move material. Check the height again. Try to make a very square thing work in a place that was not interested in being square.
The box itself was manageable. The land around it was the real project.
Backfilling
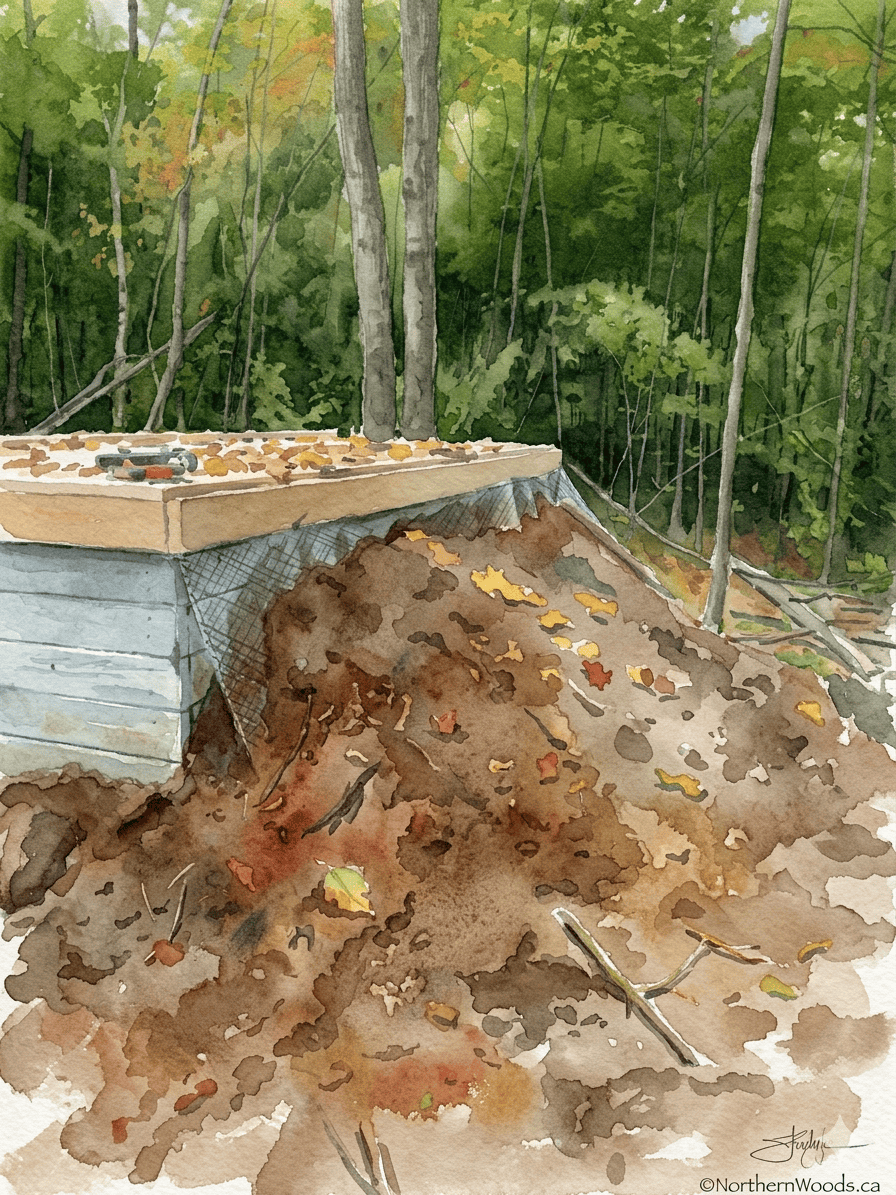
Once the structure was underway, we learned that we needed two feet of soil around the entire perimeter.
Not a loose slope of soil fading away from the edges. A solid two feet around it. A retaining wall gave us a way to hold the soil where it needed to be without turning the whole area into a massive mound.
At first we tried to make that work by backfilling as a slope. It did not take long to see how much dirt that would require. Every extra foot outward meant more material, and the dirt was being dropped at the front of the property, about 1,500 feet away from the septic.
This was one of the times where the tractor and RTV were a beast together. The tractor was great at lifting and loading the dirt, but it was slow for moving material that far. The RTV was much faster, and the hydraulic dump bed meant we could load it at the front, drive it back to the septic, dump the dirt roughly where it needed to go, and then shovel it into place.
Without that setup, the backfilling would have taken a lot longer.
That part made the septic feel less like an underground utility and more like a small earthworks project. It was not just the box. It was the excavation, the backfill, the retaining, and the access around it.
Done
After about three months of work, we had it in.
We had dug as deep as we could, chipped out what rock we could, built the box, built up where we needed to, and brought in enough soil to make the whole thing work. It was not a glamorous project, and it was not the kind of thing you get excited to show people in the same way as a cabin wall or a finished room.
The septic was the first real piece of infrastructure that moved the property away from weekend camping and toward something we could stay at for longer stretches. It made the camper possible. The camper would make more frequent visits possible. More frequent visits would make the larger build more realistic.
It took much longer than expected, but it gave us something we needed before the next stage could start.
Comments